| |
0xDB
Registered: Aug 2015
Posts: 27 |
Release id #172720 : Capture Tester V1.1
capture of "Capture Tester": https://www.youtube.com/watch?v=43pENaKP3G8
capture of "noop-tro-2018": https://www.youtube.com/watch?v=RiL0ipbCr24
(Note: The captures feature the vertical stripes VIC2 hardware interference bug because when I made them I did not know about the "LumaFix64" project.)
equipment used:
* PAL C64
* s-video+rca cable from retrokabel.de (cable has a builtin resistor on the chroma line)
* cheap LogiLink AV-Grabber USB (id from lsusb: Fushicai USBTV007 Video Grabber [EasyCAP])
* arch gnu/linux PC
the problem:
The "EasyCAP" grabber only records 720x576@25fps PAL and there is no option to change resolution or framerate. The C64 outputs approximately 288lines@50fps. In the captured unprocessed video, two C64 frames are placed in a single EasyCAPed frame, one frame on every odd line, another frame on every even line.
Googleing about that problem, the suggested solution is to de-interlace the captured frames to get the original 50fps back. To test any de-interlacing for correctness (no temporal blurring and correct image sequence and frame numbers in the result) I wrote the Capture Tester program.
My problem was that the presented de-interlacing solutions online used scripts for a software called avisynth and I could not find any way to make those scripts work under gnu/linux (all the required software to do that easily appeared to be abandoned).
So I cobbled up a capture solution using ffmpeg,ffplay(for preview during capture),v4l2ctrl,vapoursynth(for de-interlacing and resizing) and avidemux(for cutting):
It consists of two bash scripts, a vapoursynth script and a settings file to configure the capture stick.
script "capture.sh":
#!/bin/bash

echo "delete previous capture..."
rm ./out/c64_capture.mp4

echo "starting capture..."
ffmpeg -f v4l2 -i /dev/video0 -f pulse -i default -c:v libx264 -framerate 25 -preset ultrafast -c:a aac -f tee -map 0:v -map 1:a "./out/c64_capture.mp4|[f=nut]pipe:" | ffplay pipe: &

# load improved settings (only has an effect if ffmpeg is already reading from /dev/video0 otherwise it always reverts to default settings)
echo "loading improved stick settings..."
# wait a bit to make sure ffmpeg and ffplay are already running
sleep 1
# (loading the settings shows error messages on console but the settings are changed as evident by looking at the captured video)
v4l2ctrl -d /dev/video0 -l stick_settings &

FFMPEGPID=`ps T | grep ffmpeg | awk '{ print $1 }'`
FFPLAYPID=`ps T | grep ffplay | awk '{ print $1 }'`

read -p "...................press any key to stop..................." -n1 -s

kill $FFMPEGPID
sleep 1
kill $FFPLAYPID
file "stick_settings" (initially generated with "v4l2ctrl -d /dev/video0 -s stick_settings" then edited):
9963776:                     Brightness:500
9963777:                       Contrast:500
9963778:                     Saturation:750
9963779:                            Hue:0
9963803:                      Sharpness:128
vapoursynth script "vapoursynth_c64.vpy":
import vapoursynth as vs
core = vs.get_core()
clip = core.ffms2.Source(source="./out/c64_capture.mp4")
clip = core.std.SeparateFields(clip=clip, tff=1) # also interleaves after separation
clip = core.std.Crop(clip=clip, left=12, right=24, top=4, bottom=4)
# scale up high for fine control over jitter removal
clip = core.resize.Spline36(clip=clip, width=2160, height=1728)
# get rid of line jitter between frames, by panning the odds
evens = core.std.SelectEvery(clip=clip, cycle=2, offsets=0)
odds = core.std.SelectEvery(clip=clip, cycle=2, offsets=1)
odds = core.std.AddBorders(clip=odds, bottom=2)
odds = core.std.Crop(clip=odds, top=2)
# put frames back together
clip = core.std.Interleave((odds,evens))
# cut off jitter
clip = core.std.Crop(clip=clip, bottom=2)
# resize to 1080p
clip = core.resize.Spline36(clip=clip, width=1350, height=1080, format=vs.YUV420P16)
clip.set_output()
script "transcode.sh":
#!/bin/bash
echo "extract audio..."
ffmpeg -i ./out/c64_capture.mp4 -c:a copy ./out/c64_capture_audio.aac
echo "transcode video..."
vspipe --y4m vapoursynth_c64.vpy - | ffmpeg -i pipe: -c:v libx264 -preset ultrafast -c:a aac ./out/c64_capture_video.mp4
echo "merge video and audio"
ffmpeg -i ./out/c64_capture_video.mp4 -i ./out/c64_capture_audio.aac -c:v copy -c:a copy ./out/c64_capture_deinterlaced.mp4
echo "remove intermediate files..."
rm ./out/c64_capture_audio.aac
rm ./out/c64_capture_video.mp4
echo "done"
To capture a C64 video, I first run the capture script (which captures via ffmpeg and opens an ffplay window for preview(not deinterlaced yet) and loads better than default settings file for the capture stick). And afterwards de-interlace and resize with the transcode script. Then I cut using avidemux.
Two specific questions I have:
1) Is there a way I can get vapoursynth to de-interlace and preview in realtime? (e.g. for playing games in a window without recording) All my attempts at reading directly from /dev/video0 in the vapoursynth script failed, also tried pipe-ing through a fifo pipe.
2) How can I get a sharper output? (seems a bit blurry, wondering if "LumaFix64" would help with that, the "sharpness" control in the stick_settings seems to only have little effect)
Apart from those two question all thoughts and improvement suggestions are welcome. |
|
| |
Frantic
Registered: Mar 2003
Posts: 1627 |
This is not an answer to your question, but I thought I should just mention it, if someone looks for "somewhat related" information (e.g. connecting the C64 to modern screens). I just recently bought myself a RetroTINK-2X to be able to connect the C64 to hdmi inputs, and it works well.
http://www.retrotink.com |
| |
0xDB
Registered: Aug 2015
Posts: 27 |
Thanks for that link.
I forgot to paste selecting the correct input in the "capture.sh" script, add this prior to running ffmpeg:
# select s-video input on stick
v4l2-ctl -d /dev/video0 -i 1
(unfortunately editing the original post does not seem possible) |
| |
Golara
Account closed
Registered: Jan 2018
Posts: 212 |
Looks quite good for a very cheap grabber, glad you could de-interlace it. Cool it's also working on Linux. I'll try to dig around some to see if it's possible to do it realtime. |
| |
0xDB
Registered: Aug 2015
Posts: 27 |
Thx.
I dug a bit more in the ffmpeg/ffplay docs and found that it's possible to apply videofilter in realtime:
So to live-view deinterlaced C64 PAL signal, it is sufficient to just enter:
ffplay -f v4l2 -i /dev/video0 -vf setfield=prog,separatefields,fps=50,crop=686:278:12:4,scale=1350:1080:sws_flags= spline
With that it should be possible to skip the vapoursynth transcoding step entirely and do the deinterlacing during the initial ffmpeg capture.
EDIT: Yup, works. Here's the new capture script, which does the transcoding and deinterlaced preview in realtime:
EDIT2: Adjusted -vf once more to find the perfect crop setting for my stick:
#!/bin/bash
echo "delete previous capture..."
rm ./out/c64_capture.mp4
# select s-video input on stick
v4l2-ctl -d /dev/video0 -i 1
echo "starting capture..."
ffmpeg -f v4l2 -i /dev/video0 -f pulse -i default -vf setfield=prog,separatefields,fps=50,crop=686:278:12:4,scale=1350:1080:sws_flags= spline -c:v libx264 -framerate 50 -preset ultrafast -c:a aac -f tee -map 0:v -map 1:a "./out/c64_capture.mp4|[f=nut]pipe:" | ffplay pipe: &
# load improved settings (only has an effect if ffmpeg is already reading from /dev/video0 otherwise it always reverts to default settings)
echo "loading improved stick settings..."
# wait a bit to make sure ffmpeg and ffplay are already running
sleep 1
# (loading the settings shows error messages on console but the settings are changed as evident by looking at the captured video)
v4l2ctrl -d /dev/video0 -l stick_settings &
FFMPEGPID=`ps T | grep ffmpeg | awk '{ print $1 }'`
FFPLAYPID=`ps T | grep ffplay | awk '{ print $1 }'`
read -p "...................press any key to stop..................." -n1 -s
#echo ".................ffmpegpid: $FFMPEGPID"
#echo ".................ffplaypid: $FFPLAYPID"
kill $FFMPEGPID
sleep 1
kill $FFPLAYPID |
| |
soci
Registered: Sep 2003
Posts: 473 |
Note to the 2nd question:
LumaFix64 does definitely not make the output any sharper. Unfortunately it acts as a really small low pass filter as a side effect.
This filtering is most noticeable for black+white hires chessboard dithered pictures where the overall brightness for such an area is much lower than without it.
For sharper picture there are rumours that removing the modulator helps:
http://www.nightfallcrew.com/29/01/2016/easy-trick-to-improve-a..
https://www.forum64.de/index.php?thread/44092-hf-modulator-raus.. |
| |
Oswald
Registered: Apr 2002
Posts: 5017 |
I dont know I like those vertical lines, whatching the test cap they instantly reminded me that this is what I saw back in the days on a CRT. Lumafix is an artifical fix that fixes something that was always there. |
| |
0xDB
Registered: Aug 2015
Posts: 27 |
Thanks soci, that's good to know. For the moment I do not wish to remove the modulator entirely though because despite transcoding the signal back to the original 50fps, things still don't look as buttery smooth as on my CRT TV because my PC screens can only do refresh rates of 60Hz and 75Hz. Maybe I could put in a switch, so the modulator could be turned off and on again when needed.
Oswald... I could have sworn that I never noticed those stripes on any of my CRTs but I just double checked and now that I know they're there, I can see them on my current CRT as well. :D |
| |
Oswald
Registered: Apr 2002
Posts: 5017 |
0xDB, well as a coder I noticed them, they helped to find where the border is on unicolor screens :) there's even slight lines on character row boundaries, but more subtle. |
| |
0xDB
Registered: Aug 2015
Posts: 27 |
I will still try to get rid of them to get a cleaner picture and I don't mind if that makes my C64 not "true" to the original feeling. :)
On another note, when I tried to run my script today I got errors about the crop settings being invalid. Yesterday it worked but yesterday I also experimented with a tool called "tvtime" before ffmpeg/ffplay and digging into the v4l2-ctl docs I found that I need to set the signal standard as well as that isn't detected automatically (tvtime must have configured that for me so it just worked yesterday).
So before running ffplay or ffmpeg, in addition to selecting the s-video input, the standard has to be set as well, like this:
# set s-video input
v4l2-ctl -d /dev/video0 -i 1
# set pal standard
v4l2-ctl -d /dev/video0 -s pal
I also looked up configuration for the X-server again and via https://fs-uae.net/50hz-display-modes-on-linux-with-nvidia-driv.. and https://arachnoid.com/modelines/ I found a modeline which allowed me to force my main screen to a 50Hz refresh rate:
Modeline "1920x1200_50.00" 158.08 1920 2032 2240 2560 1200 1201 1204 1235 -HSync +Vsync
The output still is not as smooth as on the CRT connected via the HF-modulator (and the image on the CRT feels crisper as well :P ). |
| |
encore
Registered: Aug 2010
Posts: 61 |
0xDB: Nice write-up. :) I ordered a LogiLink VG0001A 2 days ago just to try it out as well with my C64. My last experience around 5.5 years ago was with a Terratec Grabby and it didn't really do interference-free captures with anything else than a DVD-player, so I sent it back. It had waves of colors at the top of the screen, like this:
 |
| |
0xDB
Registered: Aug 2015
Posts: 27 |
Thx encore, I hope it works for you as well.
I've installed a LumaFix64 in the meantime and while I found I could not fully eliminate all the vertical stripes with it (just a somewhat balanced state between dark and bright stripes that almost but not quite cancel each other out... spent at least 4h playing with the regulators), I get a slightly sharper picture by not using the spline algorithm for scaling and instead (who'da thunk it :P) use simple nearest neighbor scaling.
Overall, image quality still looks worse than on CRT TV. |
| |
0xDB
Registered: Aug 2015
Posts: 27 |
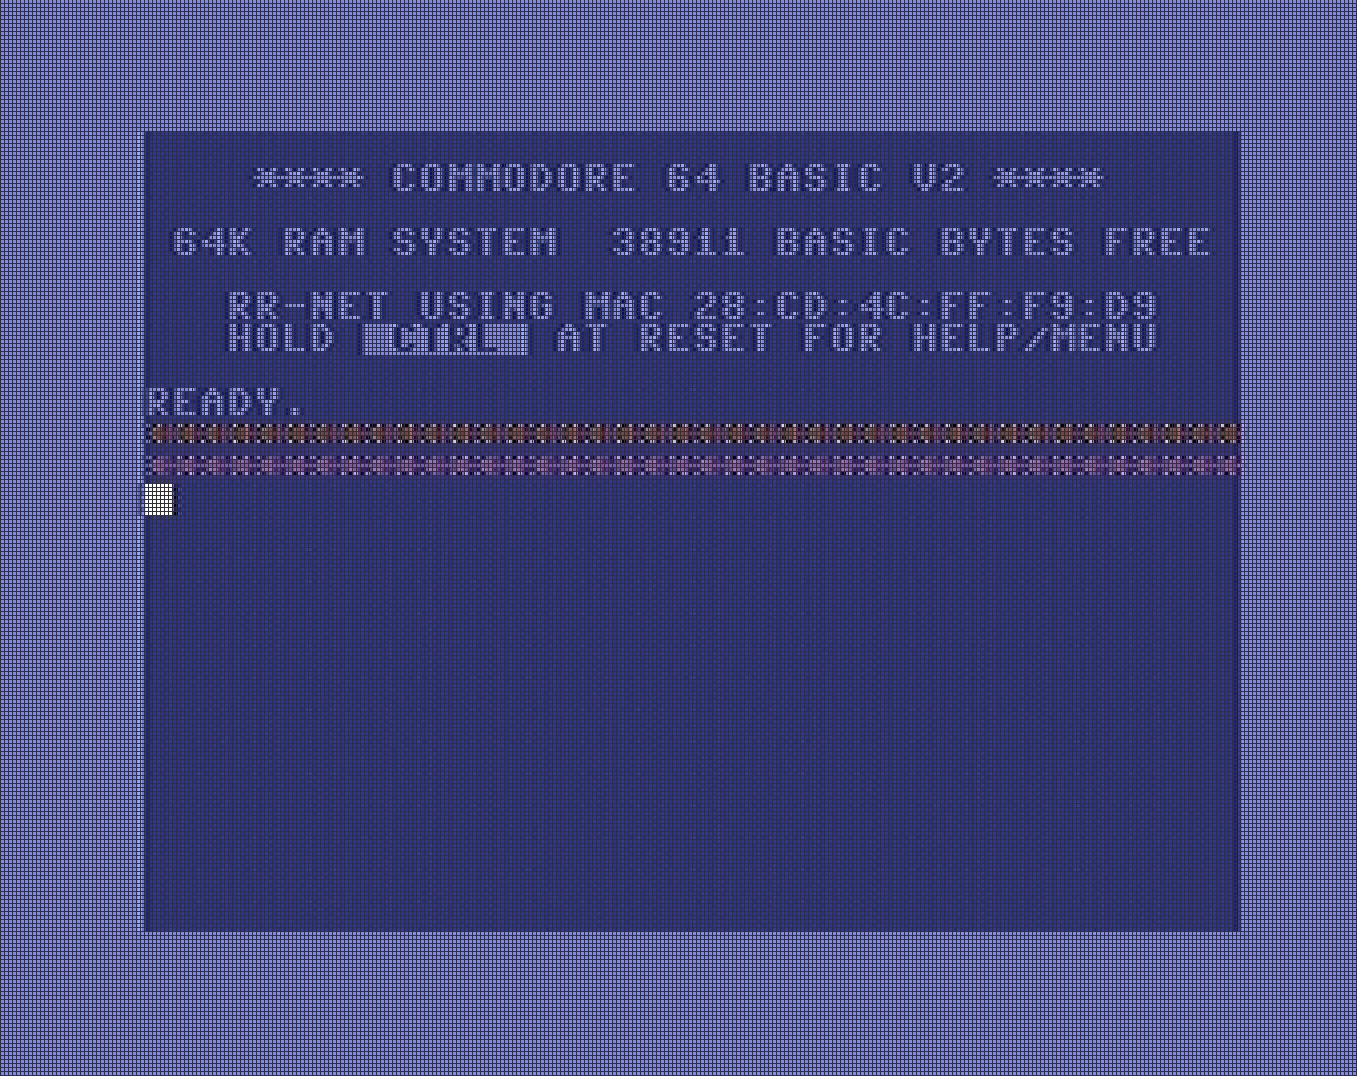
Trying to optimize some more, I decided to try drawing a grid (poorly emulating the grill in a CRT) over the source image, like this:
VID=/dev/video0
ffplay -f v4l2 -i $VID -vf 'setfield=prog,separatefields,fps=50,crop=680:270:16:4,scale=1360:1080:sws_flags =neighbor,drawgrid=0:0:4:4:0x303030:1:1'
The pixels do not seem to be perfectly aligned... there is ghost image which disturbs the color information of the individual pixels, best seen in the white square which should be 8x8 pixels but it appears as 7x8 with the 8th column being almost black and a ghost pixel column to the left of it, bleeding into the border. Perhaps chroma information is not interpreted correctly.
image:
 |
| |
Golara
Account closed
Registered: Jan 2018
Posts: 212 |
Hey, I think you might find this useful.
https://github.com/Yoshqu/usbtv-retro |
| |
chatGPZ
Registered: Dec 2001
Posts: 11107 |
while you are at it, it would be super awesome to get more/better captures/screenshots of various test programs in the VICE repo: https://sourceforge.net/p/vice-emu/code/HEAD/tree/testprogs/VIC.. - eg "split-tests", "videomode", "spritesplit", "modesplit"
<3 |
| |
0xDB
Registered: Aug 2015
Posts: 27 |
Thanks Golara, that works well: https://youtu.be/sna6Khh03G0
updated "capture.sh" (with the new kernel module, separation/recombination of fields is no longer necessary)
#!/bin/bash
VID=/dev/video2

echo "delete previous capture..."
rm ./out/c64_capture.mp4

# set s-video retro input
v4l2-ctl -d $VID -i 2
# set pal standard
v4l2-ctl -d $VID -s pal

echo "starting capture..."
ffmpeg -f v4l2 -i $VID -f pulse -i default -vf fps=50,crop=680:540:16:4,scale=1360:1080:sws_flags=neighbor -c:v libx264 -framerate 50 -preset ultrafast -c:a aac -f tee -map 0:v -map 1:a "./out/c64_capture.mp4|[f=nut]pipe:" | ffplay pipe: &

# load improved settings (only has an effect if ffmpeg is already reading from $VID otherwise it always reverts to default settings)
echo "loading improved stick settings..."
# wait a bit to make sure ffmpeg and ffplay are already running
sleep 1
# (loading the settings shows error messages on console but the settings are changed as evident by looking at the captured video)
v4l2ctrl -d $VID -l stick_settings2 &

FFMPEGPID=`ps T | grep ffmpeg | awk '{ print $1 }'`
FFPLAYPID=`ps T | grep ffplay | awk '{ print $1 }'`
read -p "...................press any key to stop..................." -n1 -s
#echo ".................ffmpegpid: $FFMPEGPID"
#echo ".................ffplaypid: $FFPLAYPID"
kill $FFMPEGPID
sleep 1
kill $FFPLAYPID
@Groepaz, could you provide a disk image with all the test programs you'd like to get captured? I will then run and capture them in sequence. |
| |
chatGPZ
Registered: Dec 2001
Posts: 11107 |
would a zip with all prg files be ok? its quite a bunch :) |
| |
0xDB
Registered: Aug 2015
Posts: 27 |
Yes, zip works too. |
| |
chatGPZ
Registered: Dec 2001
Posts: 11107 |
ok, will look through them |
| |
Golara
Account closed
Registered: Jan 2018
Posts: 212 |
My buddy from work showed his buddy's youtube channel cuz he's programming some atari stuff and though i'd like it. He wrote that capture driver. Glad it works with C64 too. |
| |
Golara
Account closed
Registered: Jan 2018
Posts: 212 |
Well, I wanted to try it myself. I bought a EasyCap, but unfortunately it has a different chip than yours and that custom driver doesn't work. I'm not sure if it's even possible to tell what chip is inside these cheap capture dongles before buying, they all look the same but from googling I see there are at least 4 different variants.
My dongle seems to capture really bad 25FPS video, like it is trying to average the colors between two fields. De-interlacing after capture like you do seems impossible.

Here's a closeup of the static raster bar.

Seems like the lines of the raster bar are repeated twice, which is correct, though there's some color bleed (blue going into top gray and into bottom black). Moving objects however don't look like 2 separate fields combined into one frame. The sprite is moving in Y and X every frame (each second line should be offset in X, right ?)

Here's some info about the device:
lsusb
Bus 003 Device 003: ID 258a:001f
v4l2-ctl --list-devices
AV TO USB2.0 (usb-0000:01:00.0-9):
	/dev/video2
	/dev/video3

Failed to open /dev/video0: No such file or directory
ffmpeg -f v4l2 -list_formats all -i /dev/video2
[video4linux2,v4l2 @ 0x5649ef38a8c0] Raw       :     yuyv422 :           YUYV 4:2:2 : 720x480 720x576 640x480 320x240 160x120
/dev/video2: Immediate exit requested
This is how I capture:
ffmpeg -f v4l2 -framerate 25 -video_size 720x576 -i /dev/video2 -c:v copy testcap25_2.avi
Any tips ?
EDIT: Picture from capture test.
 |
| |
encore
Registered: Aug 2010
Posts: 61 |
Golara: Try something like this (I adjusted your line)
ffmpeg -f v4l2 -framerate 50 -vf setfield=prog,separatefields,fps=50,scale=720:576 -i /dev/video2 -c:v copy testcap_50fps.avi
When you specify 'setfield=prog,separatefields' you will get a 'flat' picture that contains every second line, alternating each frame. You then use scale to make it double the height (like you expect it). That way you will get 50fps progressive video.
I more or less use 0xDB's script to do the capturing because then it's possible to adjust the video settings (brightness, contrast etc) with the script. To say the setup is a bit "quirky" is an understatement and having a relatively new kernel (within a year) does make a difference when it comes to the drivers, but it's pretty stable for me at this point.
Edit: Not really the best example, but I used a 50fps recording of my C64 here: https://youtu.be/Cx69RUonBl4?t=126 |
| |
Golara
Account closed
Registered: Jan 2018
Posts: 212 |
Quote: Golara: Try something like this (I adjusted your line)
ffmpeg -f v4l2 -framerate 50 -vf setfield=prog,separatefields,fps=50,scale=720:576 -i /dev/video2 -c:v copy testcap_50fps.avi
When you specify 'setfield=prog,separatefields' you will get a 'flat' picture that contains every second line, alternating each frame. You then use scale to make it double the height (like you expect it). That way you will get 50fps progressive video.
I more or less use 0xDB's script to do the capturing because then it's possible to adjust the video settings (brightness, contrast etc) with the script. To say the setup is a bit "quirky" is an understatement and having a relatively new kernel (within a year) does make a difference when it comes to the drivers, but it's pretty stable for me at this point.
Edit: Not really the best example, but I used a 50fps recording of my C64 here: https://youtu.be/Cx69RUonBl4?t=126
That doesn't help. ffmpeg produces a video file with one field only, but it has the same problems as in my post above. I've looked at the driver code a bit and I think I know what's the problem.
USBTV007 grabber has a custom driver (linux driver was based on reverse engineered Windows driver). It takes 480 pixels in one chunk of data, the driver it self receives all these chunks and produces a frame out of them (and that 240p hacked driver just removes the code that combines 2 fields into one frame). My grabber, however, uses UVC, universal video class. It acts in similar fashion to a webcam. Linux (and windows too but under a different name I think) has a generic UVC driver, the device just says that it can produce a video with such and such parametsrs, in this case, 720x576@25FPS and the driver gets a whole frame in one go. In other words, it's the hardware that reads the 2 fields, combines them (poorly) and sends them to the system. Probably not fixable. Well, bummer. That piece of crap can go straight to the garbage bin. I just wish there was some way to make sure that you are buing a grabber with that particular USBtv007 chip. It's not cheap enough to just risk it and buy it 5 times :P |
| |
encore
Registered: Aug 2010
Posts: 61 |
Golara: Ok. For the record I bought exactly this product: http://logilink.eu/showproduct/VG0001A.htm from here: https://www.computersalg.se/i/969644/logilink-vg0001a-ntsc-pal-.. |
